
Thursday, December 29, 2011
ROCK THE BLOCK CAMPAIGN!
Hey all. Thought I would post the photo of the new campaign. Sorry it has been so long since my last blog. I will try and do better in the new year ;)


Monday, September 5, 2011
RFK Crop
Blog post: http://sccogrfkc.blogspot.com/
Where are children of abuse?
 It happens more often than any of us want to believe. Each year, over 3 million American children are reported as abused... physically attacked, emotionally damaged, sexually molested, or severely neglected - often by the people they have loved and trusted most.
They are children like Jimmy - an eight-year old who has known more of violent tempers and cruel comments than he has hugs and kind words and loving encouragement. It is for children like Jimmy that we created Royal Family KIDS.
Most Social Services departments refer children to faith based camps such as those sponsored by the Salvation Army and Catholic Social Services when two criteria are met; namely, that no child is coerced to accept any particular religion, and that the foster placement program, foster parents or other caretakers are given a voluntary choice. Royal Family KIDS meet these two criteria.
Although each camp counselor and staff member is a committed Christian, the camps do not proselytize, and no religion is ever criticized or denigrated.
The camps extend Christian love and care, with adults modeling a non-violent, positive way of life as an alternative to many of the negative, abusive situations which children of abuse and neglect have faced.
Our Vision
Every foster child, ages 6 to 12, experiences a life changing camp, club and mentor
Our Mission
Create life changing moments for children of abuse
Our Purpose
Mobilize the faith community to confront child abuse
Our Strategy
Launch and sustain camps, clubs and mentors
Our Values
- Treat People Royally
- Keep Moving Forward
- Make Moments Matter
Thursday, July 14, 2011
Budget Club Layout
Once again we are using the Magic book to create one of a kind interactive layouts! We will be using Spell Bound p. 50-53


Friday, June 10, 2011
Progressive Challege Day #5
Today's the day! Your layout will be complete!! Today I invited you to try something NEW!
Step #1
Create a hand-made embellishment.


 Using a circle cutter (I choose my coluzzle) I can several different sizes of circles from the baggy.
I then used Liquid Glass around the outside edges of each of the circles.
Step #2 Add your title using stickers!
I love CTMH stickease because they coordinate perfectly with the paper as well as provide whole sayings and quotes.


Step #1
Create a hand-made embellishment.

I made "bubbles" To make bubbles, all you need is a spare plastic baggy, liquid glass, and a circle cutter.
Cut the side seems of the baggy.


 Using a circle cutter (I choose my coluzzle) I can several different sizes of circles from the baggy.
 I then used Liquid Glass around the outside edges of each of the circles.
Step #2 Add your title using stickers!
I love CTMH stickease because they coordinate perfectly with the paper as well as provide whole sayings and quotes.

Step #3 Add journaling and any final touches!

What does your layout look like?

Thursday, June 9, 2011
Progressive Challege Day #4
How is your layout coming along? Having fun? I sure hope you are!
Today's challenge is to add a strip of that 3rd color of cardstock you picked out on Day 1. Add it to the layout.

Then adhere your focal photo to the opposite page (if doing a 2-page layout) as your photo stripe!

Today's challenge is to add a strip of that 3rd color of cardstock you picked out on Day 1. Add it to the layout.

Then adhere your focal photo to the opposite page (if doing a 2-page layout) as your photo stripe!

Wednesday, June 8, 2011
Progressive Challege Day #3
I hope this finds you well on your way to creating a beautiful layout! Today it is simple. Add an embellishment of a contrasting color. I used chocolate ribbon. If you are doing a two page layout put the same embellishment on both pages! Then add a piece of cardstock in the same color of 12" x ? (whatever you like).


Tuesday, June 7, 2011
Progressive Challege Day #2
It's not too late to join the fun! Grab some pictures and scroll down to see yesterdays challenge. Today we will add additional photos and our paper to our base pages!
Day #2: Using your leftover photos from yesterday create a photo strip (you can make it smaller than mine, but I wanted to use the whole photos).
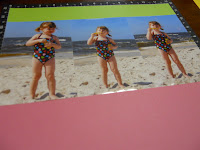
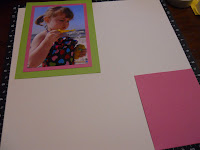
Then add two blocks of color using the cardstock you matted your focal photo. I added blocks of color to both pages of my layout. I added a small stripe of Pear carstock to the top of page two above my photo strip then a big block of Cotton Candy cardstock to the bottom. I then added a small piece of Cotton Candy to the bottom right corner of my page 1.
Where will you put your blocks of color and how big will you make them?
Day #2: Using your leftover photos from yesterday create a photo strip (you can make it smaller than mine, but I wanted to use the whole photos).

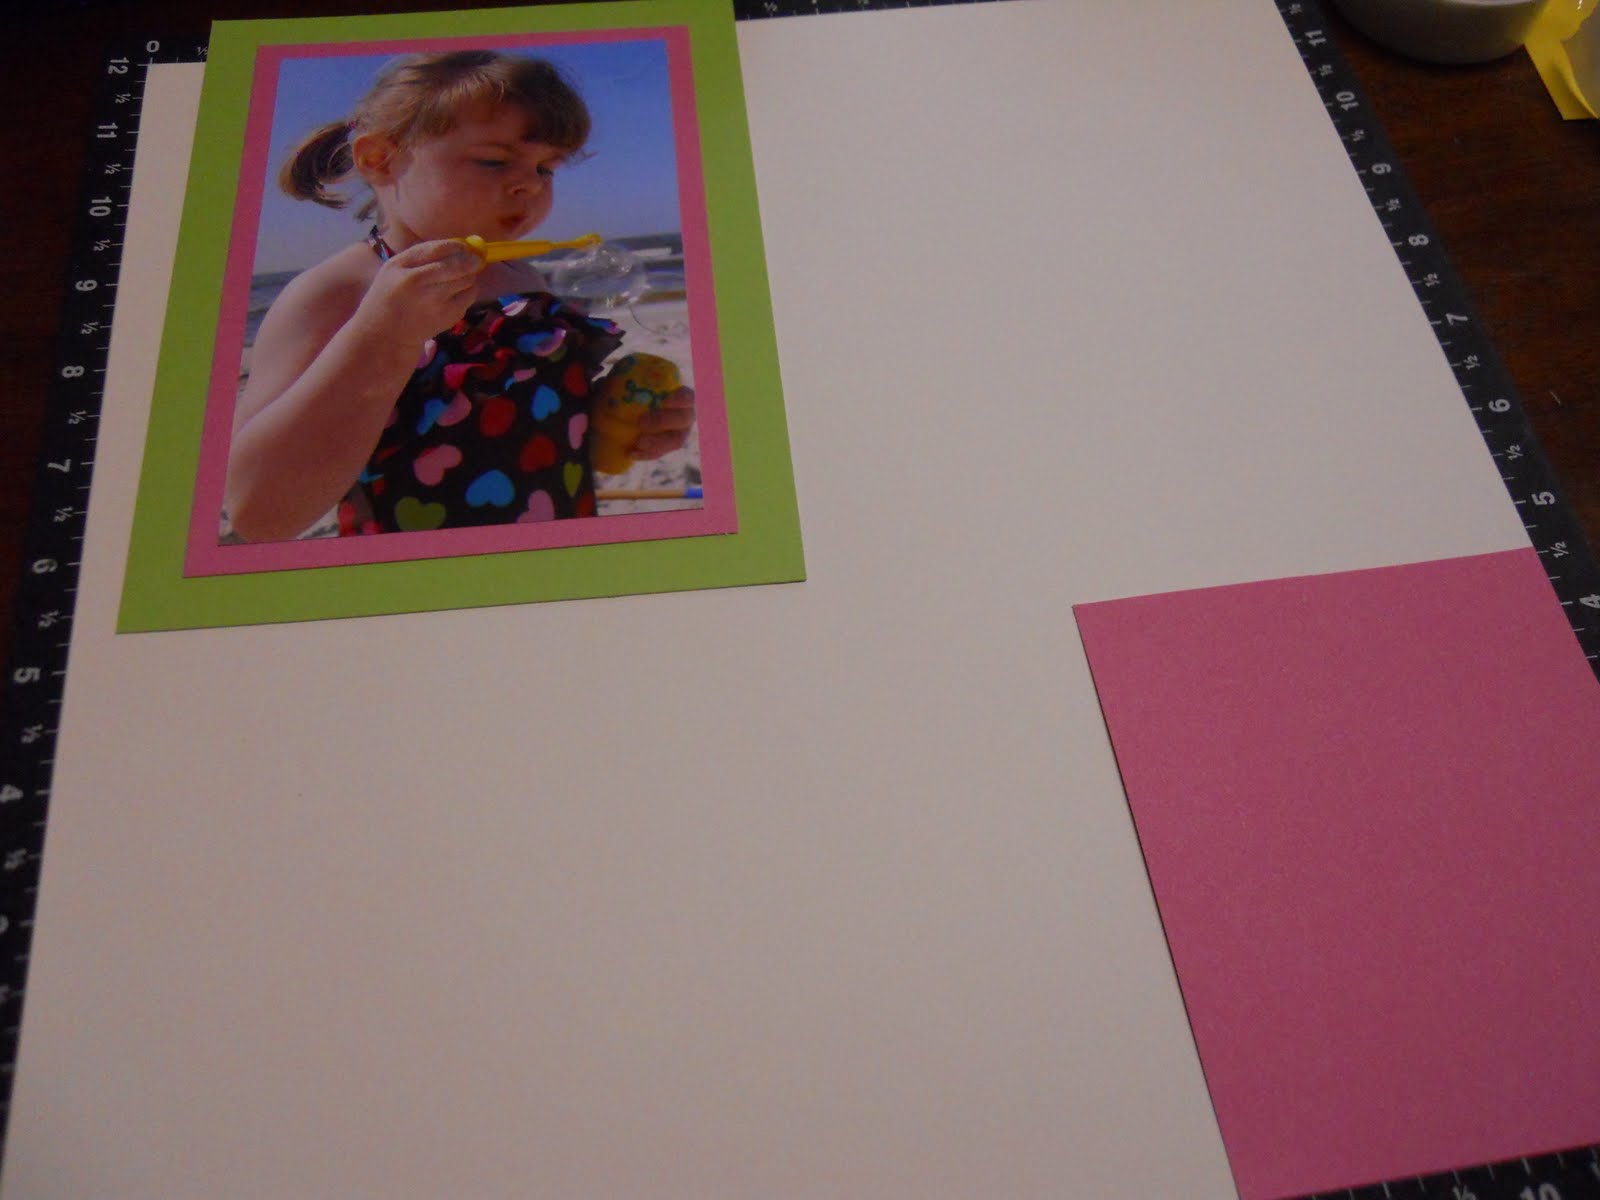
Then add two blocks of color using the cardstock you matted your focal photo. I added blocks of color to both pages of my layout. I added a small stripe of Pear carstock to the top of page two above my photo strip then a big block of Cotton Candy cardstock to the bottom. I then added a small piece of Cotton Candy to the bottom right corner of my page 1.
Where will you put your blocks of color and how big will you make them?
Subscribe to:
Posts (Atom)